
Legos be organized!
-
Warning: Parameter 2 to wp_hide_post_Public::query_posts_join() expected to be a reference, value given in /home/girlha5/public_html/wp-includes/class-wp-hook.php on line 286
Kids absolutely love playing with legos but parents don’t always enjoy the pieces being all over the place. Or maybe that’s just me and my neurotic personality. I try to be a fun mom but sometimes I just can’t handle the mess that entails. I do like that legos encourage non-stimulated and imaginative play. Kids using their imaginations is a very good thing so I decided to make them a lego table to make us all a bit happier.
After a brief search on Pinterest, I found this inspiration photo:
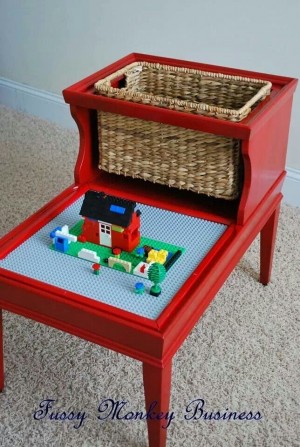
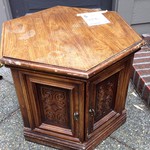
I like that the table has a place to store the legos but I wanted something with a bit more space. So I went off to Goodwill in search of a table that work for my project. I was lucky enough to find this gem for $3.99! Do you remember seeing these old tables in houses years ago? Beautiful, right? Unfortunately, the only before photo I have is a super tiny file and I’m not patient enough to figure out why, so here it is:
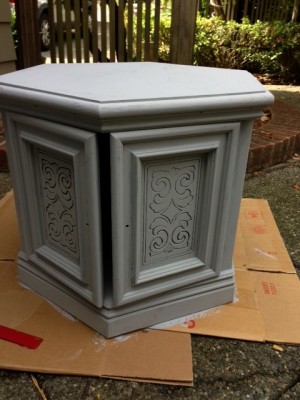
I brought it home and set to priming. A lot of people are tempted to skip primer but when it comes to previously stained furniture, it’s pretty essential to making latex paint stick. I could have used chalk paint, which is so lovely and requires much less prep work, but this table was for the kids. I didn’t want to splurge on super nice paint for this purpose. I actually had some red paint leftover from another project so I decided to just use it. Part of the fun of up-cycling is trying to spend the least amount of money possible. It just makes you feel cool, ya know?
Once I had the table primed, it took 3 coats of red paint to get a good looking finish. Red paint is just one of those colors- doesn’t seem to matter what you’re painting, always takes 3 coats. One lesson I have learned is to just suck it up and do a job right. It’s super frustrating to later realize that you can see streaks or brush marks.
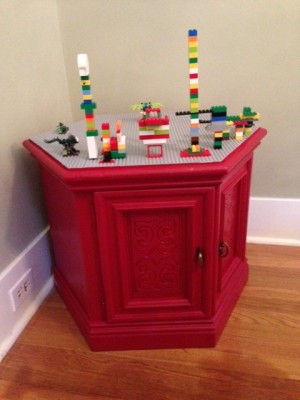
After I finished painting, Adam secured lego baseboard to the top. That was a little more difficult than we realized. First of all, not easy to find large baseboard. I thought I’d be able to find some on craigslist or ebay but there was not a deal to be had. I’m sure I could have found a bargain if I had been patient enough to keep looking. When it comes to projects, I just like to get them done so I ended up buying the baseboards on amazon.com. I spent $35 for 3 sheets. I needed 3 because of the shape/size of our table. For this reason, a small rectangle table might be better. After Adam measured and cut the baseboards, he secured them to the table with liquid nail.
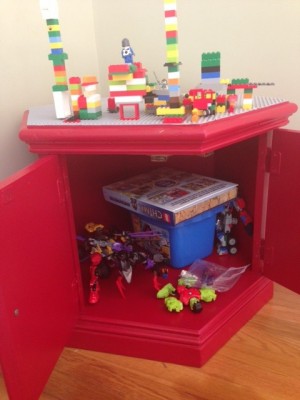
I painted the inside of the table but I didn’t add a shelf or anything like that. I have found that kids are great about dumping stuff into a drawer or basket but that is where organization ends. My only request is that the kids put all Lego pieces inside the table and close the doors when they are done playing. The kids love their new table and I’m happy that I no longer cringe when they pull out the tub of Lego pieces. And bonus, it’s actually sort of cute!
Leave a Reply

2 Responses and Counting...
Wow, this is fabulous!!!
[Reply]
This is a brilliant idea! Tucking this idea away for when we enter the small lego stage!
[Reply]